
So what does “free” actually get you with Adobe Podcast?
A common question from people just starting out with audio is some version of this: “I keep seeing Adobe Podcast recommended for cleaning up recordings — but is it genuinely free, and what can I actually make with it before I hit a paywall?” It’s a fair thing to want pinned down before you sink an afternoon into learning a new tool.
Here’s the honest shape of it. Adobe Podcast is a browser-based set of audio tools from Adobe, and a meaningful chunk of it is usable without paying — you sign in with a free account and start working. But “free” here isn’t a marketing word that means “everything, forever.” It’s a specific tier with specific things switched on and specific things switched off, and knowing exactly where those lines fall is the difference between a smooth first session and a frustrating one.
This guide walks through the whole free tier for a complete beginner: what the tools are, what our earlier hands-on actually measured on the noise removal, how to make your first audio project start to finish, and — the part most roundups skip — the concrete moments where you’ll bump into the ceiling and have to decide whether paying is worth it. No feature-list padding, no pretending it does things it doesn’t.
Contents
First, what “Adobe Podcast” even refers to
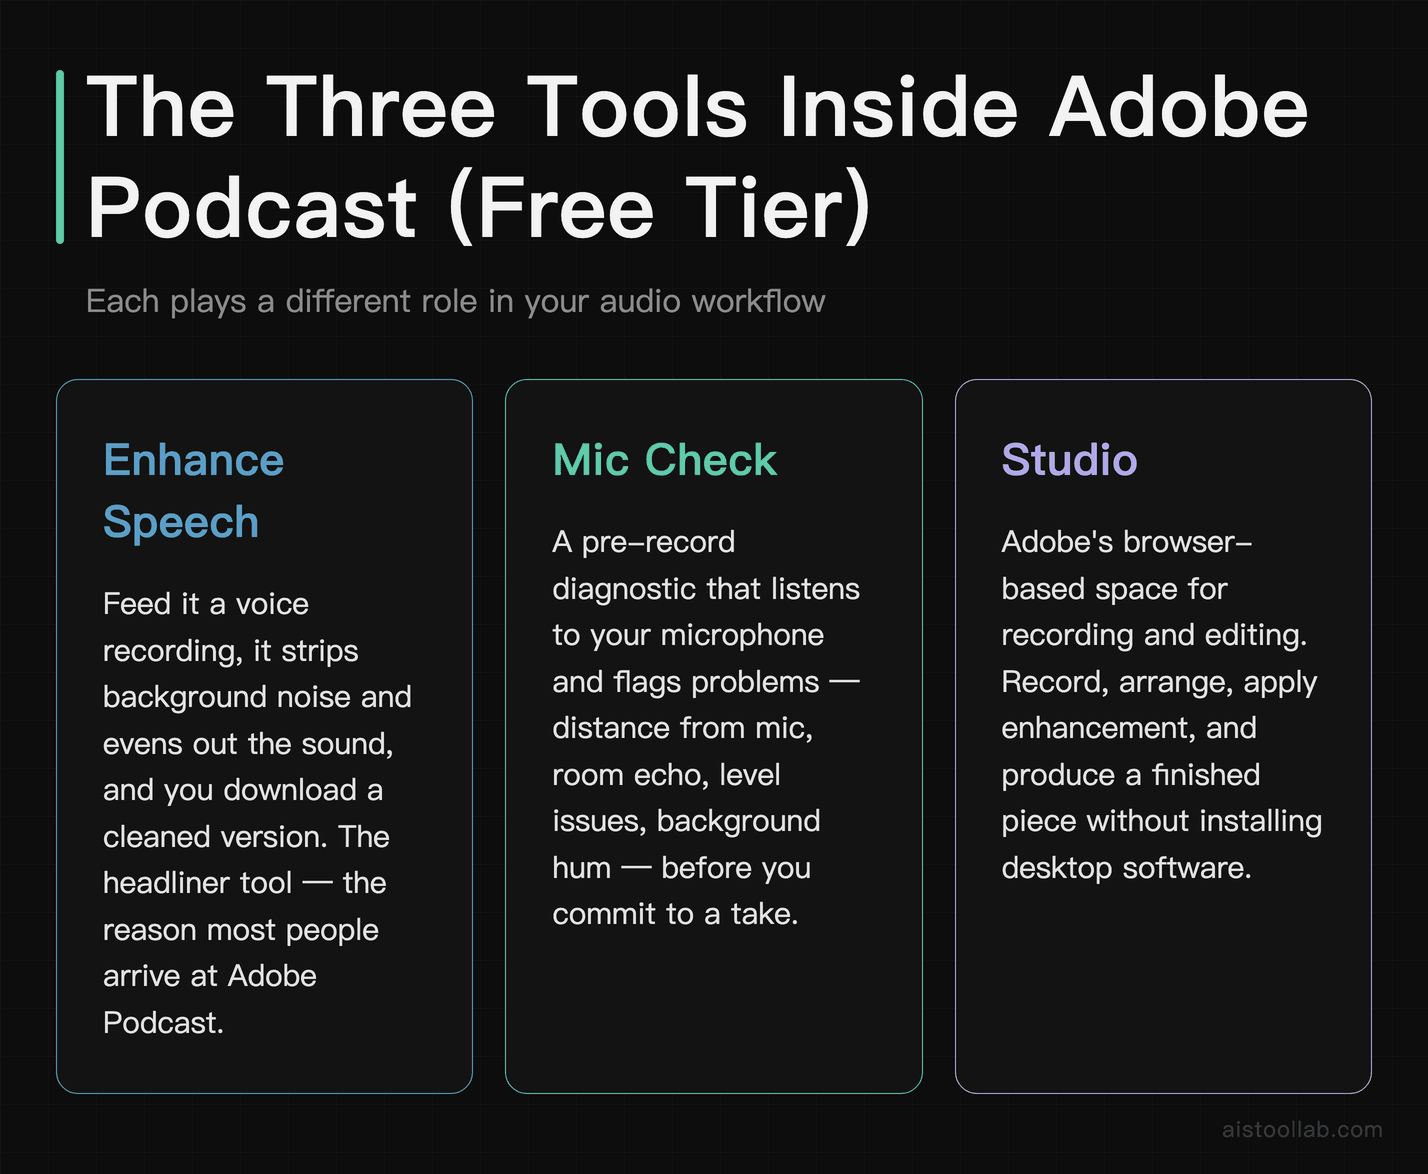
The name trips people up, because “Adobe Podcast” isn’t one button — it’s a small suite of tools that live together at Adobe’s Podcast site. For a beginner, three of them matter.
Enhance Speech is the headliner. You feed it a voice recording, it strips background noise and evens out the sound, and you download a cleaned version. It’s the tool that shows up in “make your podcast sound professional” videos. This is the piece our earlier hands-on focused on, and I’ll get into what it measurably did in a moment.
Mic Check is a small but genuinely useful diagnostic. Before you record, it listens to your microphone and flags problems — you’re too far from the mic, the room is echoey, the levels are off, there’s background hum. For someone recording for the first time in a spare bedroom, catching those issues before you talk for twenty minutes is worth a lot.
Studio is Adobe’s browser-based space for recording and editing, so you’re not forced to bring your own separate recorder or editor to the party. It’s where the “create a podcast” part of the pitch lives — record, arrange, apply the enhancement, and produce a finished piece without installing desktop software.
Together, that’s the free-tier promise: check your mic, record in the browser, clean up the audio, and export something usable. It’s a real end-to-end path for a simple voice project, not just a single gimmick.
A quick reality check on “voice cloning”
Because the topic of AI audio inevitably drags in voice cloning, it’s worth heading off a common assumption directly: Adobe has shown research demos of speech and voice technology over the years, but a self-serve voice cloning feature — the “record a sample, generate new lines in your own or a synthetic voice” workflow — is not a confirmed part of Adobe Podcast’s public free tier as of 2026-07. What the free tier reliably gives you is enhancement, mic checking, and browser recording and editing, not a voice generator.
If cloning or fully synthetic AI voiceover is the actual job you’re trying to do, that’s a different category of tool, and you’d be better served looking at something built specifically for it — I go through that whole space in my ElevenLabs review. Treating Adobe Podcast as a voice-cloning app will just lead to disappointment; treating it as a recording-and-cleanup app is where it earns its keep.
What our earlier hands-on measured on Enhance Speech
We previously ran a real hands-on test of Adobe Podcast’s free tier (from an earlier article on this site), and rather than take Adobe’s word for the noise removal, that test measured it. I’m reusing those findings here — this is from that earlier hands-on, not a fresh re-test for this piece.
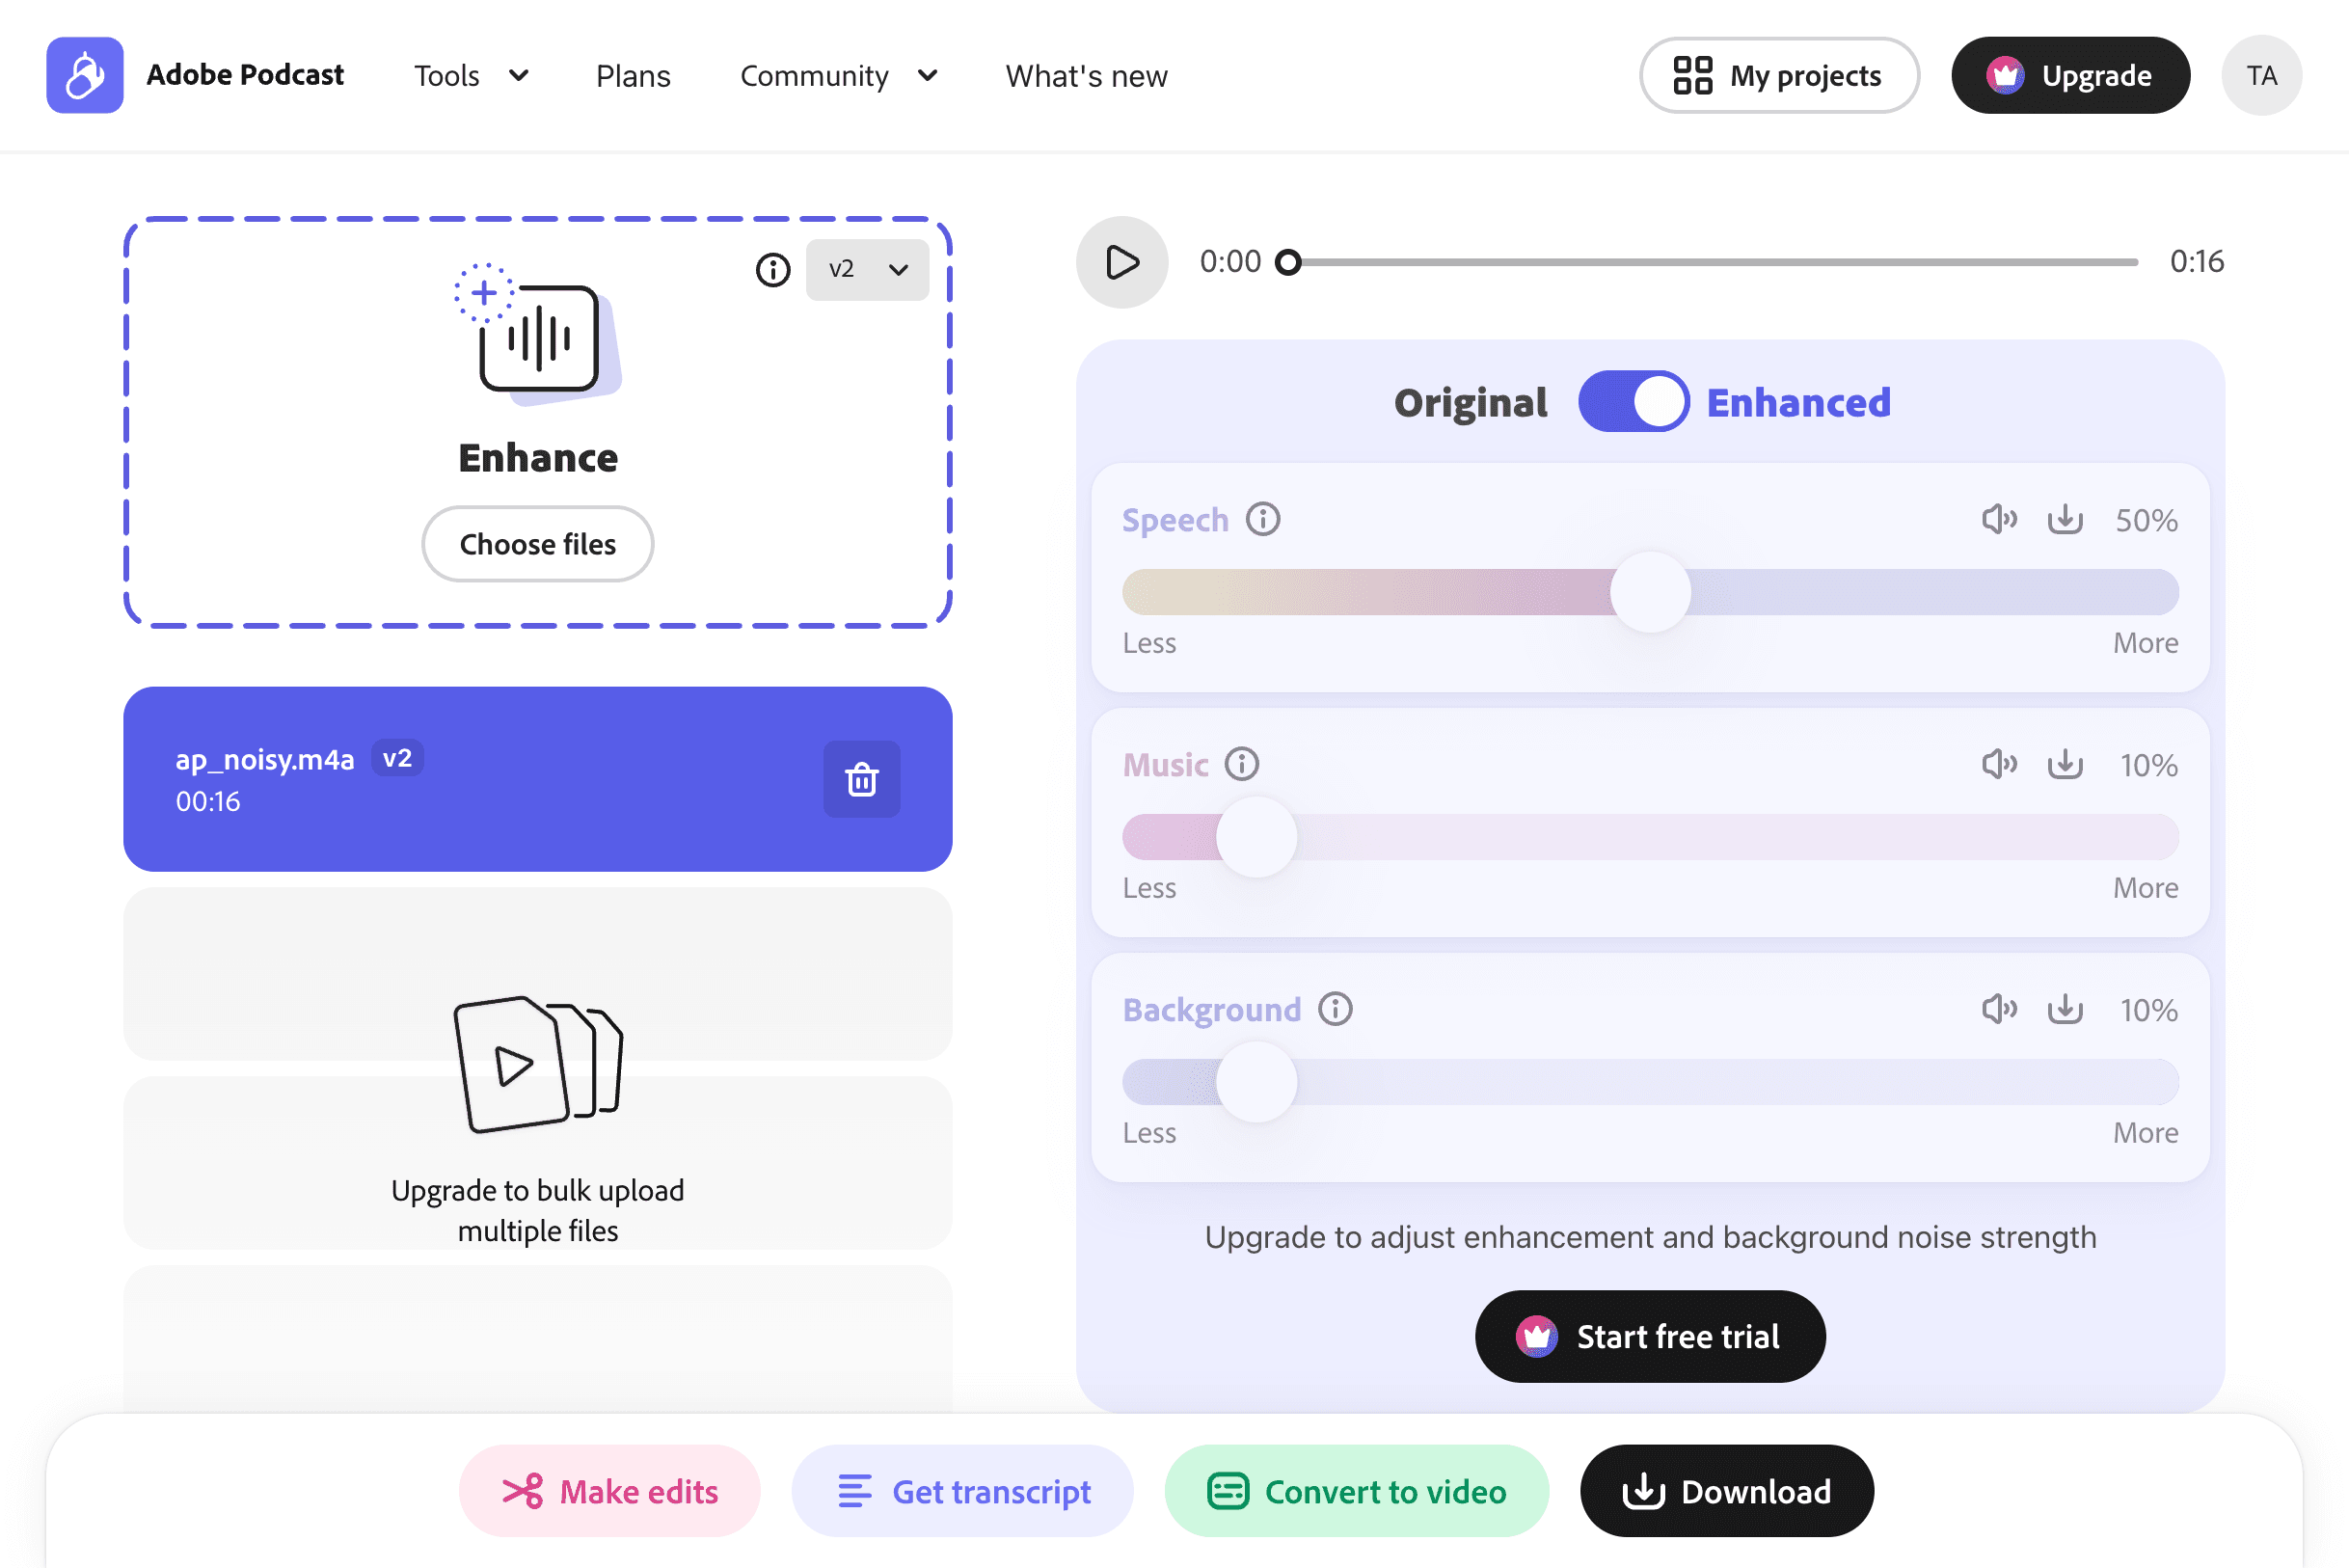
The setup was deliberately adversarial. I made a messy 17-second clip on purpose: a voice track full of filler words (“um,” “uh,” “you know”) laid over a bed of pink background noise — the steady hiss you get recording in an untreated room. I signed in with Google (a free account, no password), uploaded the noisy clip, and let the tool run it through its v2 model, which took about half a minute. You get an Original / Enhanced toggle to A/B the result on the spot.
Did it work? Measurably, yes. I downloaded the enhanced file — it exports as WAV — and measured the noise floor, meaning the loudness of the quiet gaps between words, before and after. It dropped from −43.1 dB to −73.7 dB, roughly 30 dB of background noise removed, while the overall duration stayed essentially intact (16.9s to 17.0s). In the waveform you can see it plainly: the “before” track’s silent gaps are full of fuzz; the “after” track’s gaps go nearly flat.
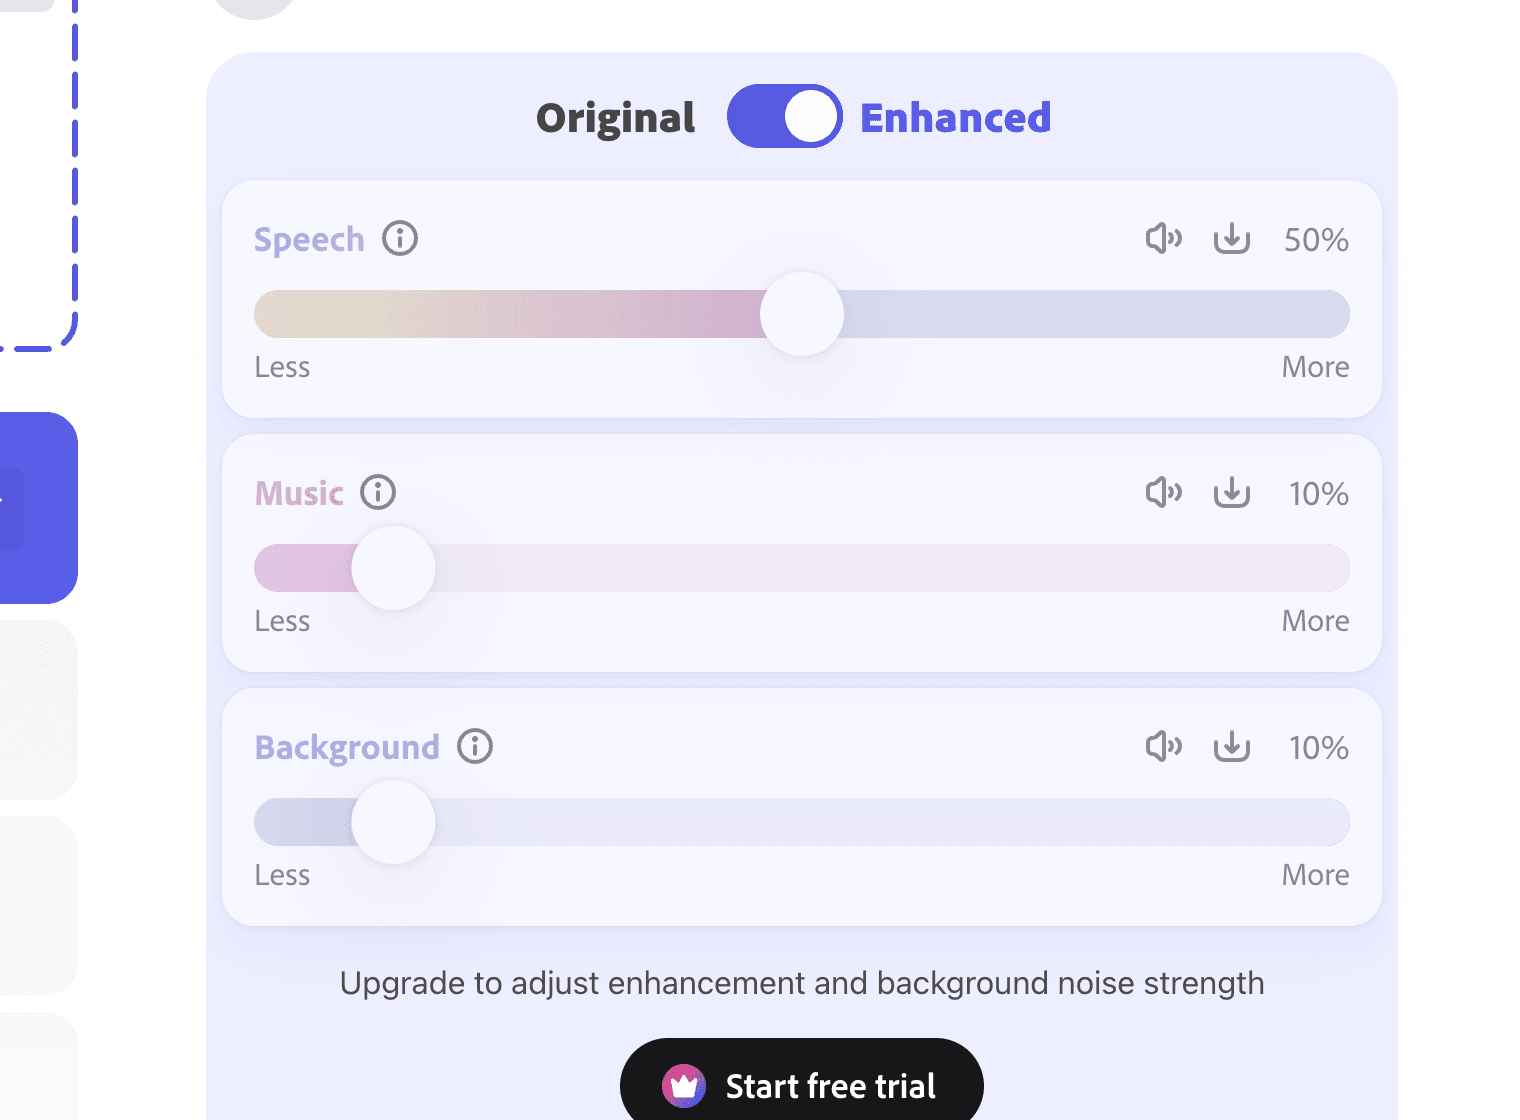
Two honest caveats from that test, both of which matter for a beginner. First, my input was synthetic — text-to-speech plus generated noise — not a real messy room recording, so treat that 30 dB as “it clearly strips a strong, steady noise bed,” not a guarantee for every recording. Echoey rooms, overlapping voices, and music beds are genuinely harder cases. Second, the free enhancement is one-click but also one-setting: the Speech, Music, and Background strength sliders are visible but locked behind an “Upgrade to adjust” prompt. On free you get the default enhancement and no dial to control how aggressive it is. When the model over-corrects, voices can take on a slightly “underwater” quality — and on free, you can’t back it off. Alongside enhancement, that earlier test confirmed the free tier also hands you one-click “Get transcript” and “Convert to video,” which makes it a small workflow rather than a one-trick demo.
Free vs paid, laid out feature by feature
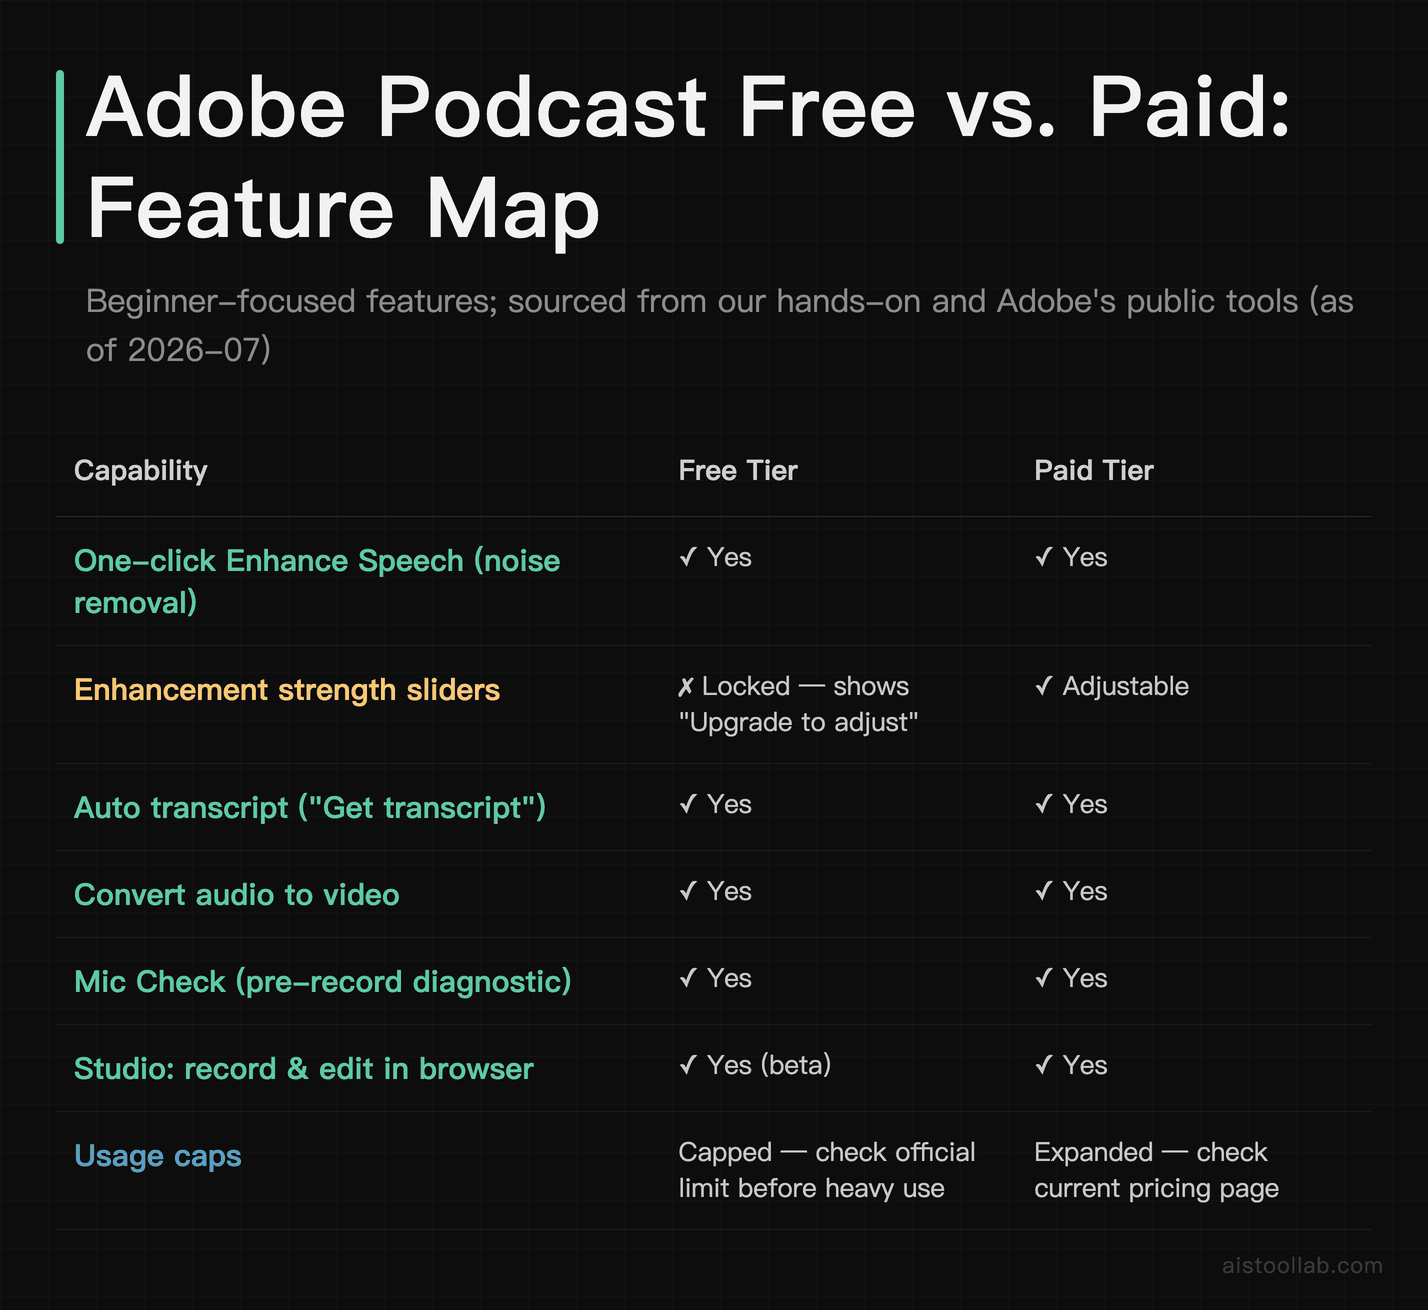
Here’s how the free tier compares against the paid tier, focused on the things a beginner actually touches. To be straight about sourcing: the free-tier items marked below come from our earlier hands-on and from Adobe’s public tools; where I couldn’t confirm a paid-tier specific against an identifiable official source, I’ve said so rather than guess. This is a tier-by-tier feature map, not a rating of one tool against another.
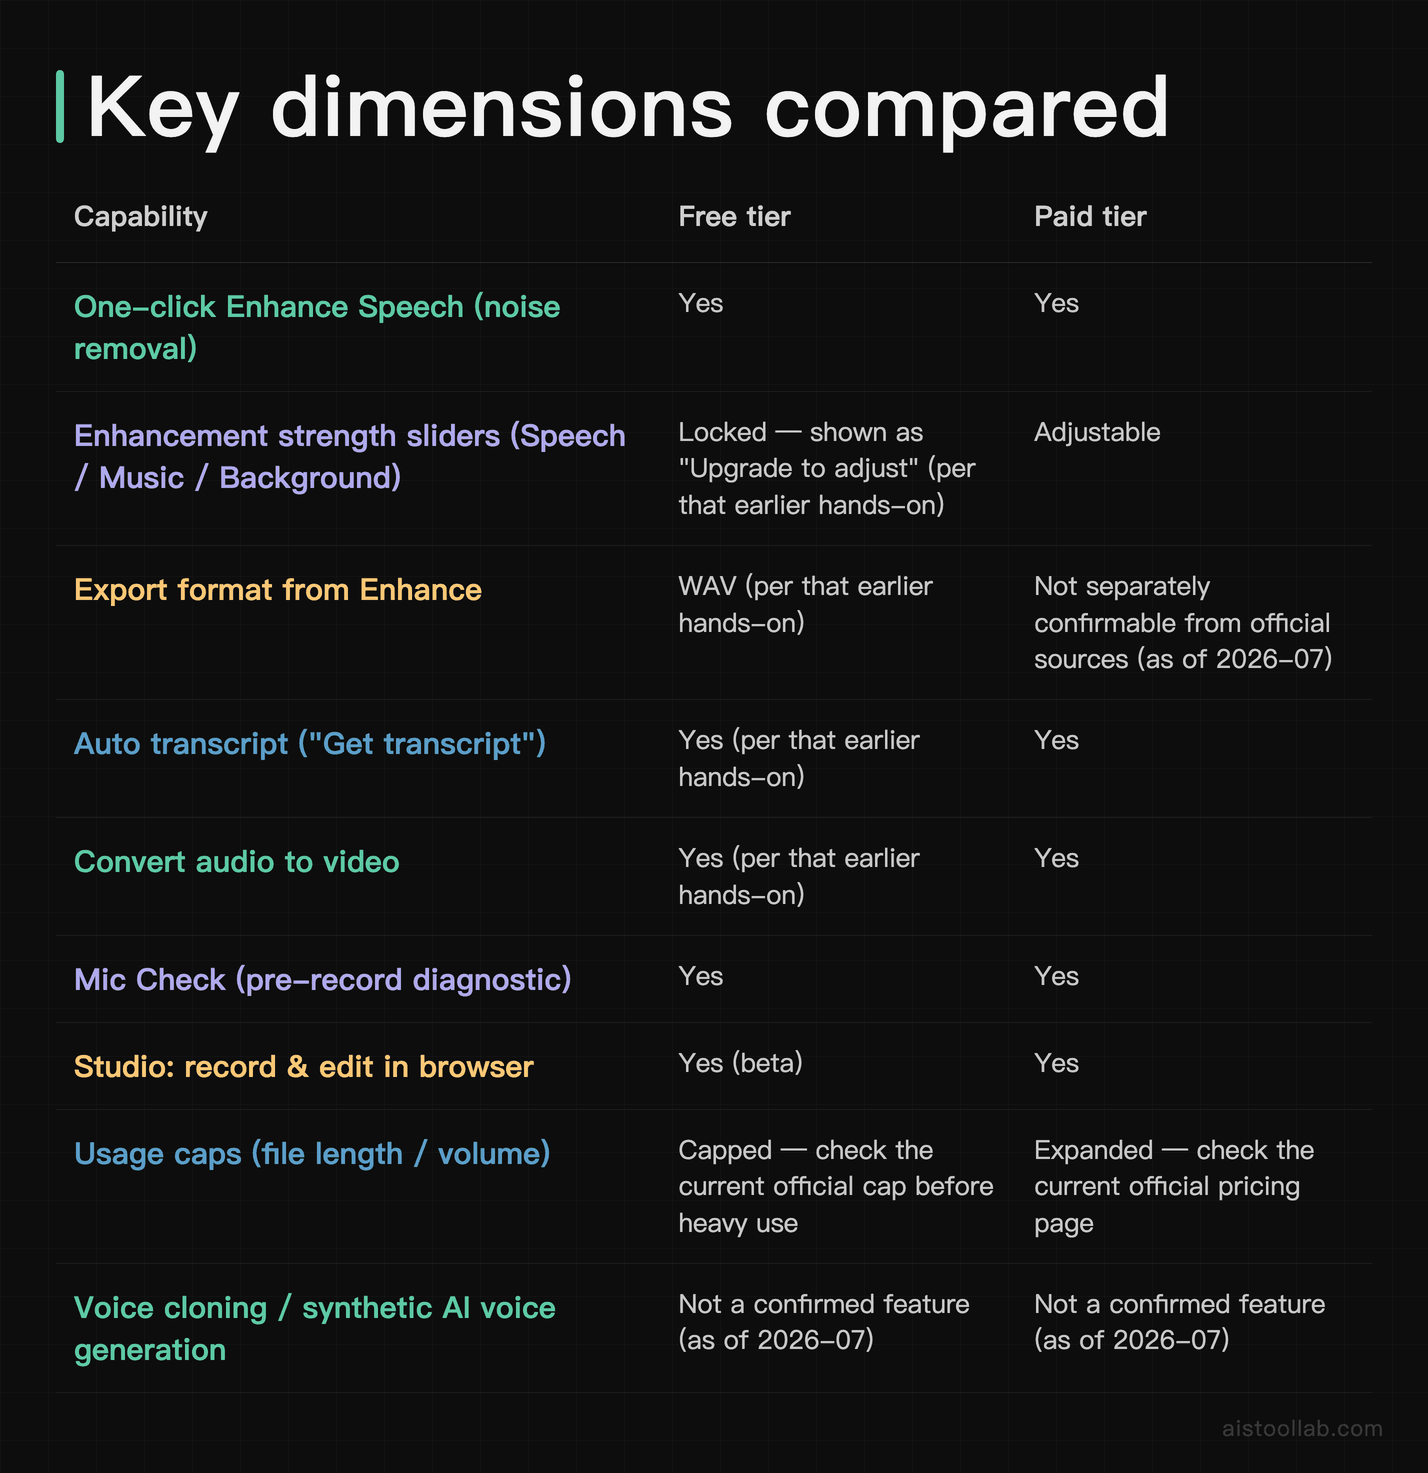
The single most important row for beginners is the sliders one. Everything else about Enhance is available free; the thing you’re paying for, functionally, is control over the enhancement rather than access to it. Keep that in mind when you read glowing reviews — the free version can do the job, but it does it on autopilot.
Building your first audio project, step by step
If you’ve never touched the tool, here’s the whole path from cold start to finished file. It’s browser-based, so there’s nothing to install.
- Sign in. Head to Adobe’s Podcast site and sign in with a free account — the earlier hands-on that this article reuses used Google sign-in, so no separate Adobe password was set. You land in the tool picker.
- Run Mic Check first (if you’re recording). Before you commit to a take, let Mic Check listen. It’ll tell you if you’re too far from the mic or if the room echo is going to fight you. Fixing that now beats trying to rescue it later.
- Record or upload. Use Studio to record straight in the browser, or if you already have a file — a voice memo, an interview, a rough take — upload it into Enhance Speech.
- Enhance. Hit the enhancement. On free it’s one click and one setting; the earlier test saw the v2 model process a short clip in about half a minute. Longer files take longer.
- A/B the result. Use the Original / Enhanced toggle to compare. This is your quality check — if the cleaned version sounds thin or “underwater,” that’s the model over-correcting, and on free you can’t soften it, so note it for next time (record cleaner input, get closer to the mic).
- Grab a transcript, if you want one. The one-click “Get transcript” is handy for show notes, captions, or just skimming what you said.
- Export. Download the cleaned WAV, or use “Convert to video” if you’re heading to a platform that expects a video file.
That sequence — check, record, enhance, review, export — is genuinely all a simple solo voice project needs. You don’t have to understand compression or EQ to get a listenable result out the other end.
Three beginner scenarios, and how you’d pull each off on free
Launching a solo talking-head podcast
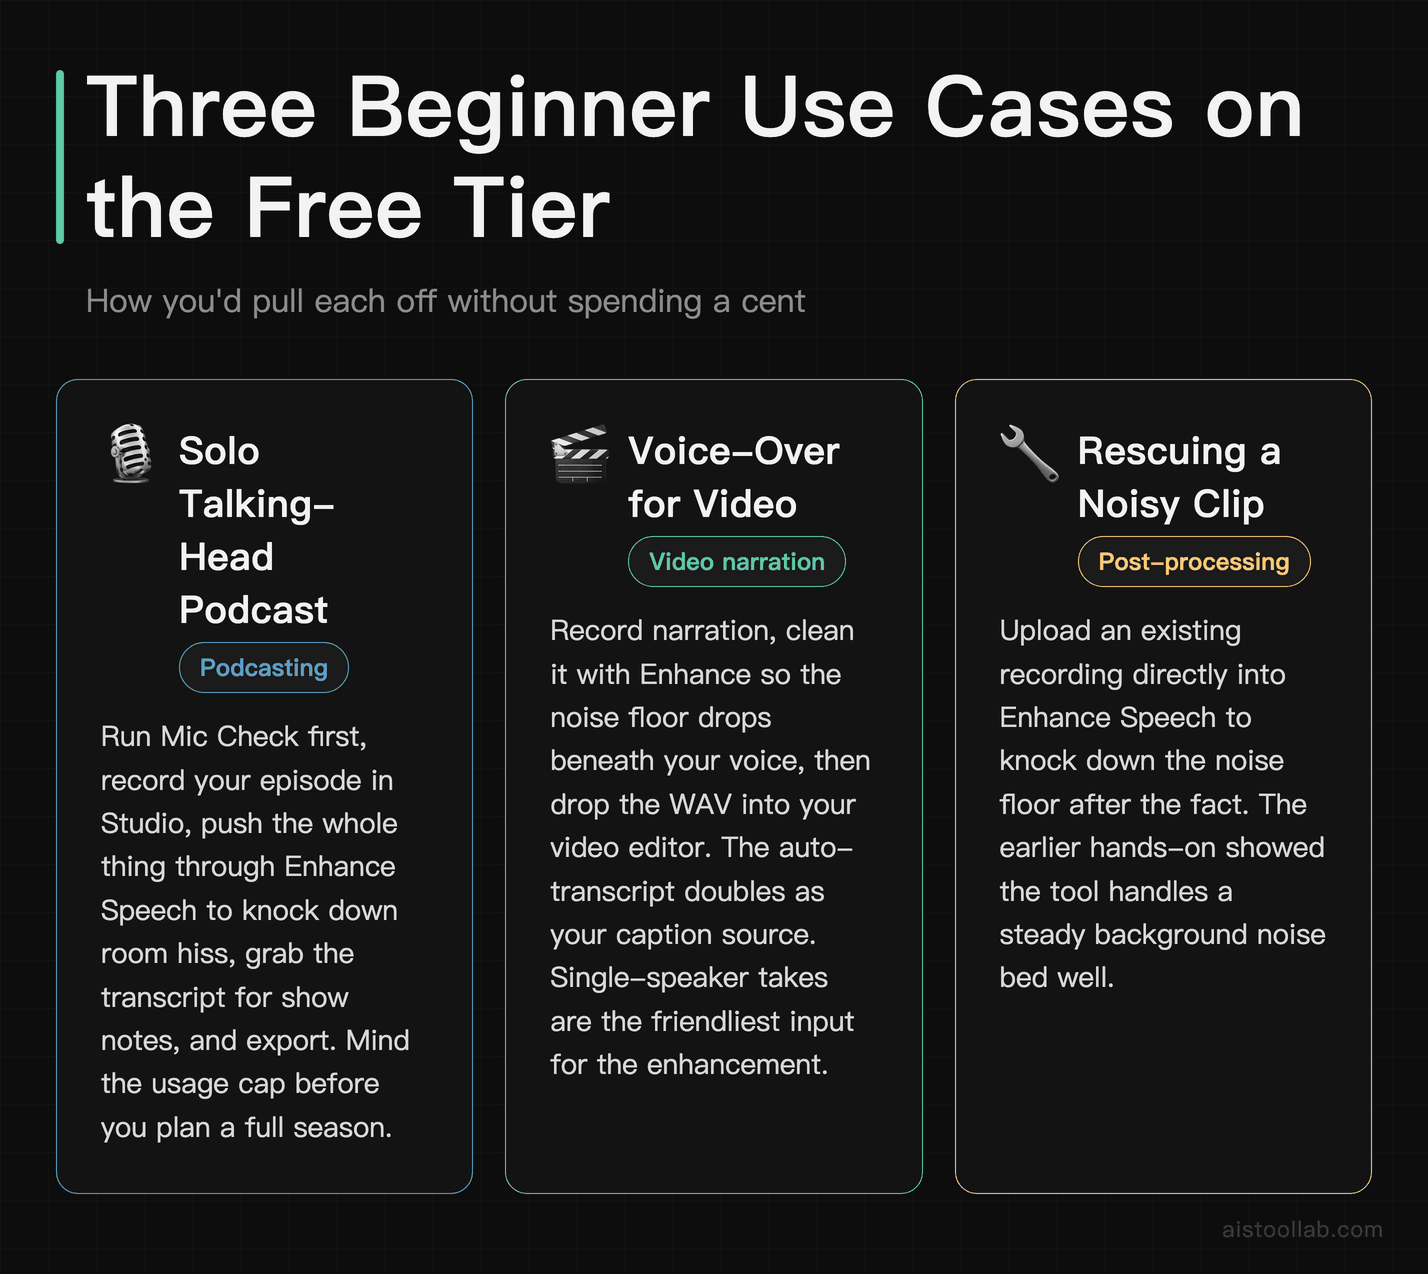
Say you’re recording a solo episode from a home office with no acoustic treatment. Your realistic free-tier flow: run Mic Check to catch the obvious problems, record your episode in Studio, then run the whole thing through Enhance Speech to knock down the room hiss and even out your voice. Grab the transcript for your show notes and export. The earlier hands-on showed the noise removal handles a steady background bed well, which is exactly the “quiet room hum” case most bedroom podcasters face. Just budget for the usage cap — a full episode is a chunk of your free allowance, so check the current limit before you plan a season.
Recording a voice-over for a video
Imagine you’re narrating a product demo or a YouTube explainer. You record the narration, clean it with Enhance so the noise floor drops out from under your voice, and then use “Convert to video” or drop the WAV into your video editor. The transcript doubles as your caption source. This is a strong fit for the free tier because voice-over is usually a single clean-ish take of one person talking — the friendliest possible input for the enhancement.
Rescuing an already-recorded noisy clip
Maybe you’ve got a recording that’s already in the can and slightly ruined — a Zoom guest with a fan running, a field recording with traffic underneath. Here you skip recording entirely: upload the existing file straight into Enhance Speech and let it strip the noise. This is the “keep it in your back pocket” use case — you don’t need a whole workflow, just occasional cleanup. Bear in mind the earlier test’s caveat, though: a strong steady hiss cleans up well, but overlapping voices, heavy echo, and music beds are the hard cases where results get less predictable, and free gives you no sliders to fine-tune the recovery.
Where the free tier quietly runs out of road
The free tier is generous for what it is, but there are specific, predictable moments where you’ll need to decide whether to pay. Naming them plainly beats discovering them mid-project.
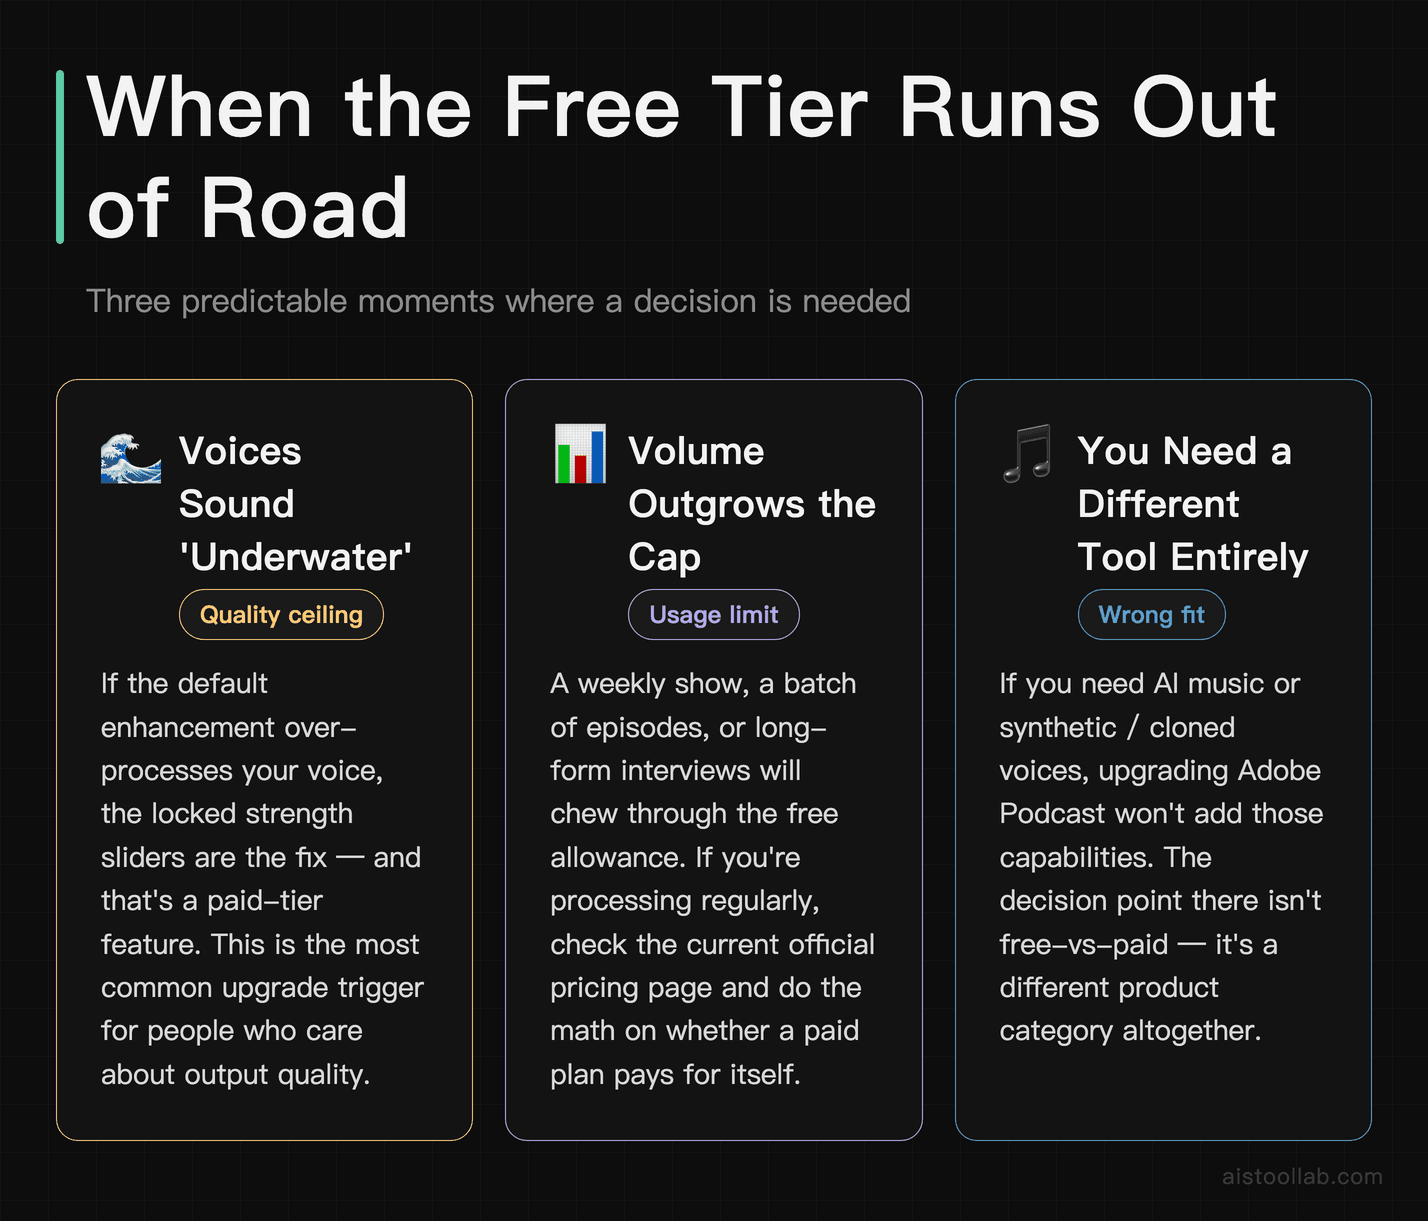
You keep fighting the “underwater” effect. If your work matters — a client voice-over, a published episode — and the default enhancement keeps over-processing your voice, the locked strength sliders are the fix, and that’s a paid-tier feature. This is the most common upgrade trigger for people who care about output quality.
Your volume outgrows the cap. Occasional cleanup fits comfortably in the free allowance. A weekly show, a batch of episodes, or long-form interviews will chew through it. Once you’re processing regularly, check the current official pricing page and do the math on whether a paid plan pays for itself.
Your job isn’t actually “clean up speech.” This is the underrated one. If what you really need is AI music rather than voice cleanup, Adobe Podcast isn’t the tool at all — I cover that world in my Suno AI review. If you need synthetic or cloned voices, that’s the ElevenLabs category. Upgrading Adobe Podcast won’t add those capabilities, so the “decision point” there isn’t free-vs-paid — it’s Adobe Podcast vs a different tool entirely. Recognizing that early saves you from paying for the wrong thing.
Who Adobe Podcast free actually serves
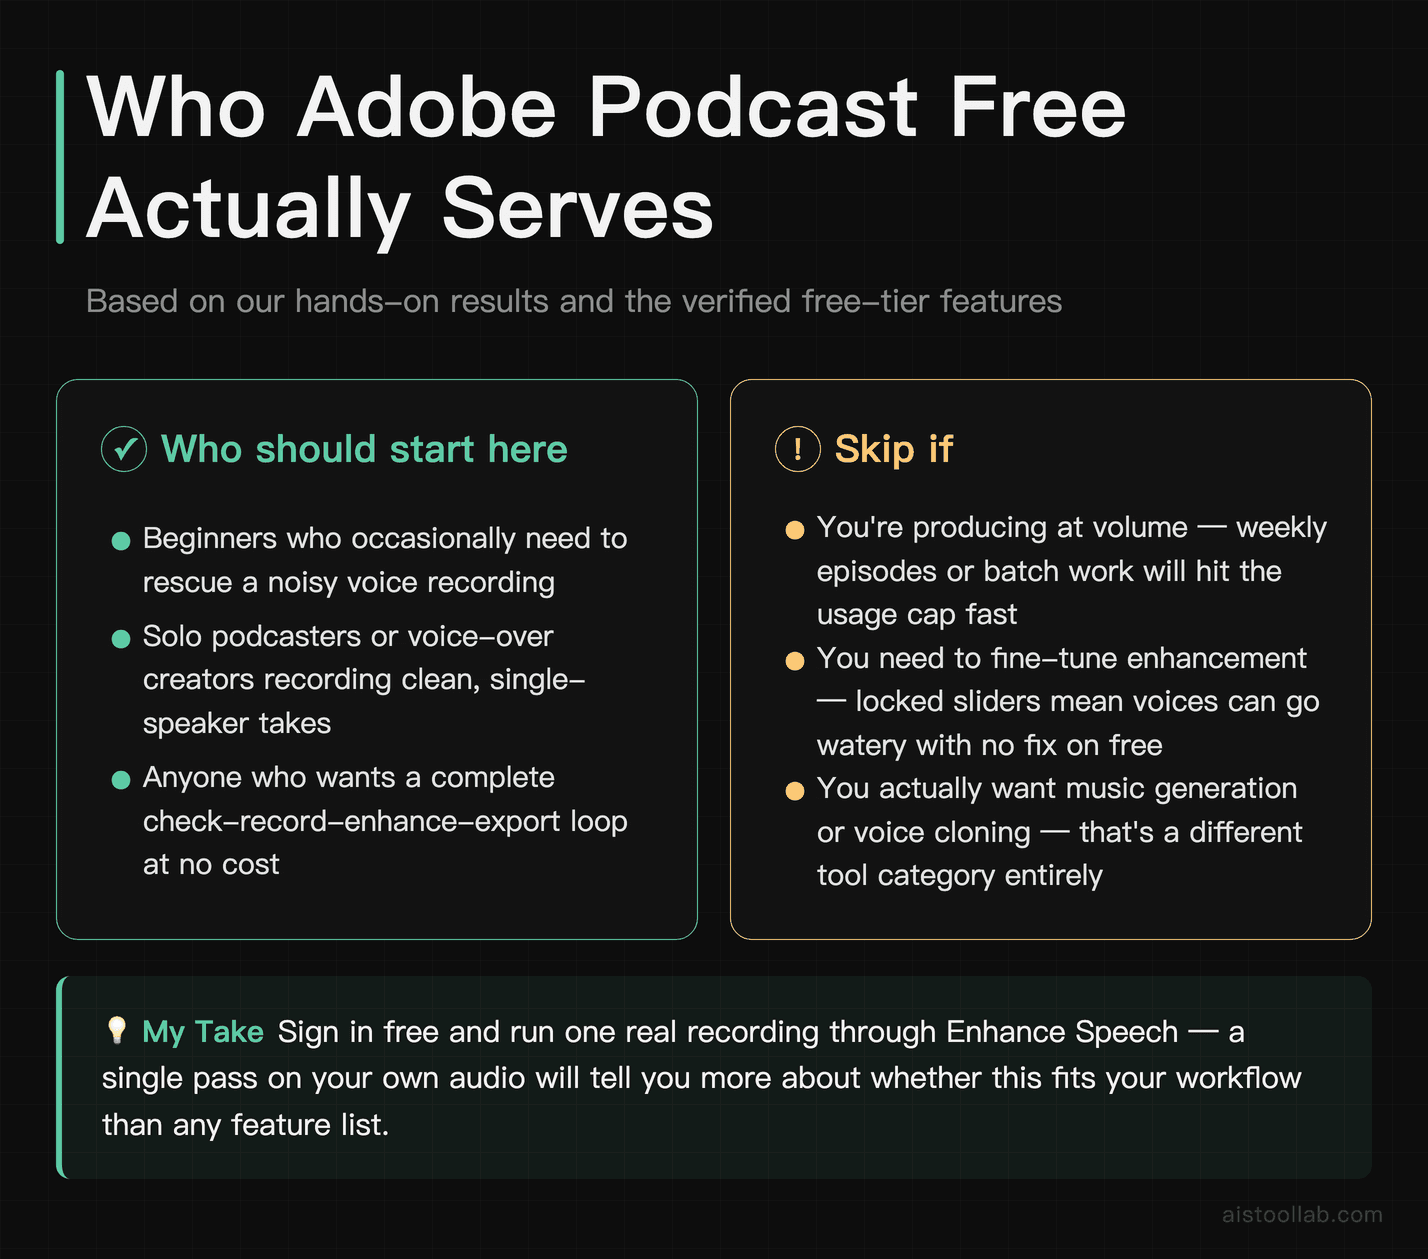
Here’s my scoped take, tied to what the free tier verifiably does. If you’re a beginner who occasionally needs to rescue a noisy voice recording, or you’re launching a simple solo podcast or voice-over and mostly record clean, single-speaker takes, the free tier is a legitimately good place to start — based on our earlier hands-on, the one-click noise removal is real and measurable on a steady noise bed, and the check-record-enhance-export loop is complete without spending a cent. Keep it in your back pocket for cleanup; that’s where it shines.
If, on the other hand, you’re producing at volume, you need to fine-tune how the enhancement behaves so voices don’t go watery, or the thing you actually want is music generation or voice cloning, the free tier will show you its edges fast — and in the last case, the honest answer is a different tool rather than the paid Adobe plan. Best first move: sign in with a free account and run one real recording of yours through Enhance Speech. A single pass on your own audio will tell you more about whether this fits your workflow than any feature list — including this one — ever could.
Hands-on Screenshots
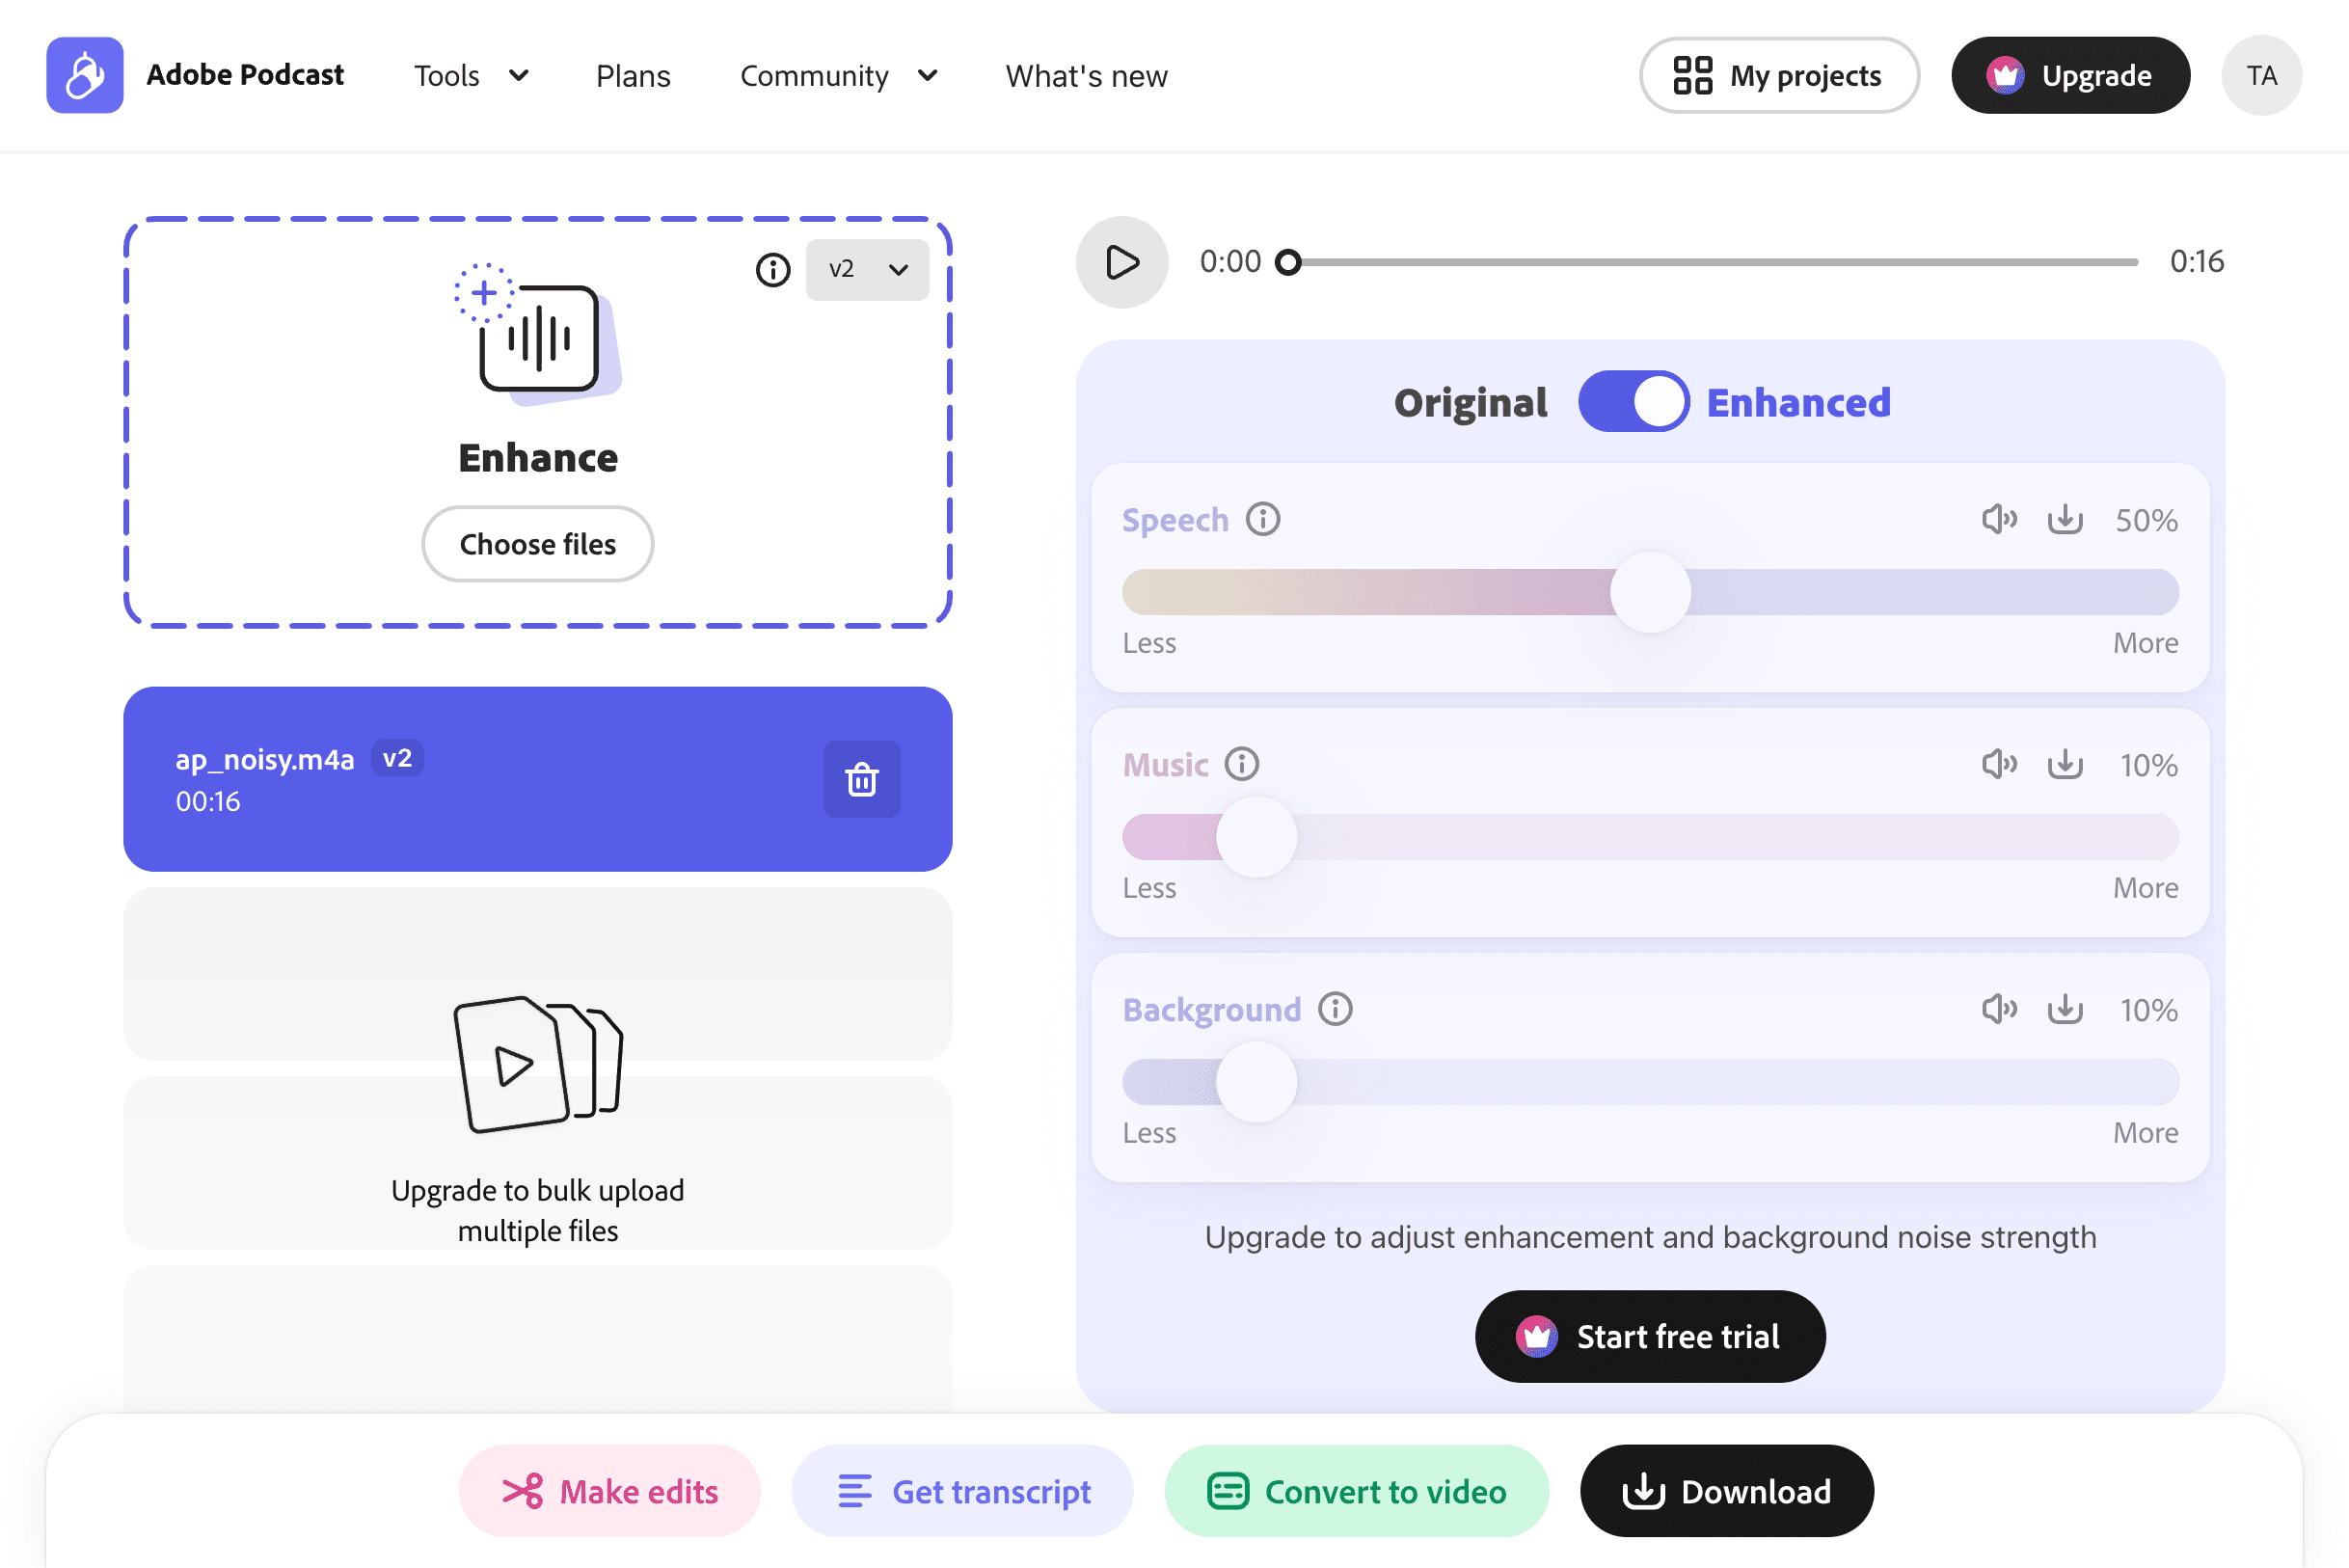
Real screenshots from our own hands-on test of adobe-podcast (reused from our existing hands-on coverage).
Frequently Asked Questions
Is Adobe Podcast actually free, or is it a disguised trial?
It’s genuinely free to use, not a countdown trial that locks you out after a week. You sign in with a free account and the core tools — Enhance Speech, Mic Check, and browser recording in Studio — work without payment. The catch isn’t a hidden clock, it’s two boundaries: usage caps (there’s a limit on how much you can process, so check the current official cap before planning heavy or ongoing use) and locked controls (the enhancement strength sliders sit behind an upgrade prompt, per our earlier hands-on). So the honest framing is: free is fully functional for light, occasional work and for learning the ropes, but it’s metered and it runs on defaults. If you’re producing weekly episodes or want to fine-tune how aggressive the cleanup is, you’ll eventually run into one of those two walls. For a beginner testing the waters or someone who only needs the odd cleanup, though, free is a real, usable tier — not bait.
Does the free tier include voice cloning?
No — and this is worth being clear about because the expectation is common. As of 2026-07, a self-serve voice-cloning or synthetic-voice-generation feature isn’t a confirmed part of Adobe Podcast’s public free tier. What Adobe Podcast reliably does is clean up and enhance recordings of real voices, check your microphone, and let you record and edit in the browser. It does not turn a short sample into new lines spoken in that voice. If voice cloning or fully AI-generated voiceover is the actual task — say you want a narrator voice you don’t have to record yourself — that’s a different class of tool, and you’ll want something purpose-built for it; I break that space down in my ElevenLabs review. Trying to force Adobe Podcast into a cloning role will only frustrate you. Use it for what it’s designed to do — making recorded human speech sound cleaner — and it holds up well.
Why does my enhanced audio sound “underwater,” and can I fix it on free?
That watery, slightly muffled quality happens when the enhancement model over-corrects — it’s aggressively removing what it thinks is noise and taking some of your voice’s natural texture with it. In our earlier hands-on, this was the clearest limitation of the free tier: the Speech, Music, and Background strength sliders that would let you dial the effect back are visible but locked behind an “Upgrade to adjust” prompt. So on free, you can’t directly soften it. What you can do is attack the problem at the input stage, where free gives you full control: get physically closer to the microphone, record in a less echoey space, use Mic Check beforehand, and start with the cleanest signal you can. The cleaner your raw audio, the less work the model has to do, and the less likely it is to over-process. If you find yourself constantly fighting the over-correction on important projects, that’s one of the clearest signals that the paid tier’s slider control is what you’re actually paying for.
Do I need to download or install anything?
No. Adobe Podcast runs in the browser. Our earlier hands-on signed in with a free Google account — no password to set — and worked entirely on the web: upload, enhance, download. There’s no desktop app to install for the core enhancement workflow, which is a genuine plus for beginners on modest laptops or anyone who doesn’t want another program cluttering their machine. You do need a stable internet connection, since the processing happens on Adobe’s servers rather than your device, and you’ll want a modern browser. Because it’s cloud-based, larger files take longer to upload and process, and your usage counts against the free cap. But the practical upshot is friendly: you can go from “never heard of this” to “cleaned-up audio file downloaded” without installing a thing, which lowers the barrier considerably compared with traditional audio software. For recording, the browser-based Studio keeps that same no-install promise, though it’s still labeled a beta, so treat it accordingly.
Last updated: 2026
This is one way to choose.
👉 Browse the AI Tools Library to see what else is worth a look.